A customer signs into your client portal, creates a project, and pays to unlock a feature. Delivering that journey usually means connecting hosting, identity, data, and a payment provider, then making failures visible across them. Forte supplies those platform capabilities together, so your code can concentrate on what the customer is buying.
This walkthrough uses a client portal as a running example. Start with a repository, deploy the API and website, create a customer-owned record, and complete a sandbox payment. The portal is an illustrative application you build; the linked example repository is a starting point, not a claim that it already implements every payment and entitlement step below.
Start with a repository and a project
The Forte Examples repository contains applications you can inspect before deploying. The Next.js and Node example demonstrates a frontend, a Service, and per-user records in PostgreSQL. Pin the commit you evaluate so later repository changes do not silently change your test.
Create a Forte Project to group the application resources, then install the Forte GitHub App on the repository. Projects also separate sandbox and live behavior; use a Sandbox project while testing identity and payments.
Deploy the API and website
Create a Service for the backend repository and branch. If the project includes a Dockerfile, Forte uses it. Otherwise, the first Smart build detects the application build and health-check configuration. The application must expose an HTTP GET route that returns a success response.
After the container builds and passes its health check, Forte assigns the Service a stable HTTPS endpoint. Later pushes to the configured branch start another build and rollout. Structural changes such as a new port, runtime, or project layout may require resetting the detected configuration.
Deploy the frontend as a Website when it fits Forte's static or server-rendered website runtime. Configure the backend endpoint as an environment variable and test both resources through their generated addresses before attaching production domains.
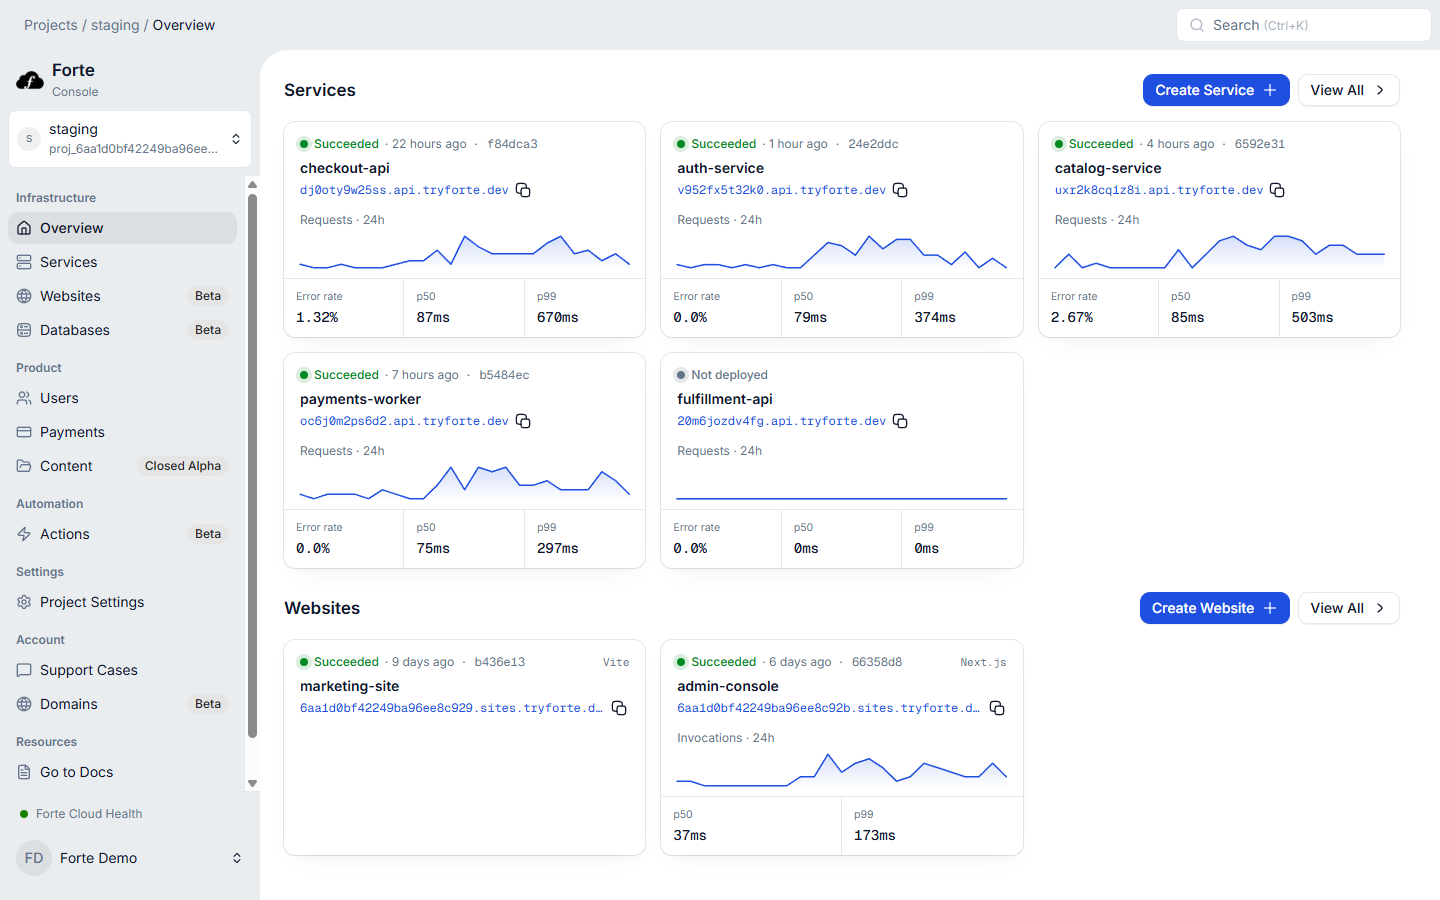
Follow the executable steps in Deploying Services and Deploying Websites.
Add customer sign-in and application authorization
The first customer needs an identity before they can save a project. Configure that identity in the same Forte Project as the deployed API, then implement the portal's sign-in screen against the supported authentication flow. You avoid operating a separate verification and session system for this application.
Enable the sign-in methods the product needs: email, SMS, or Google. Forte manages verification, sessions, password policies, MFA settings, and gateway validation for protected Service paths.
Your API still decides what the signed-in user may do. Store the Forte user identifier with each application record and include that owner or tenant in every resource query. Test that a user cannot read or update another customer's record by changing an identifier.
When migrating an application with existing authentication, you can begin by excluding the existing routes from Forte authentication and plan the identity move separately. Avoid changing hosting, identity, and every business permission in one unreviewable cutover.
Connect durable data
When the customer saves their first project, write it to PostgreSQL with their Forte user identifier. Connecting the database to the Service supplies managed credentials through runtime configuration; your application supplies the schema and owner-filtered query.
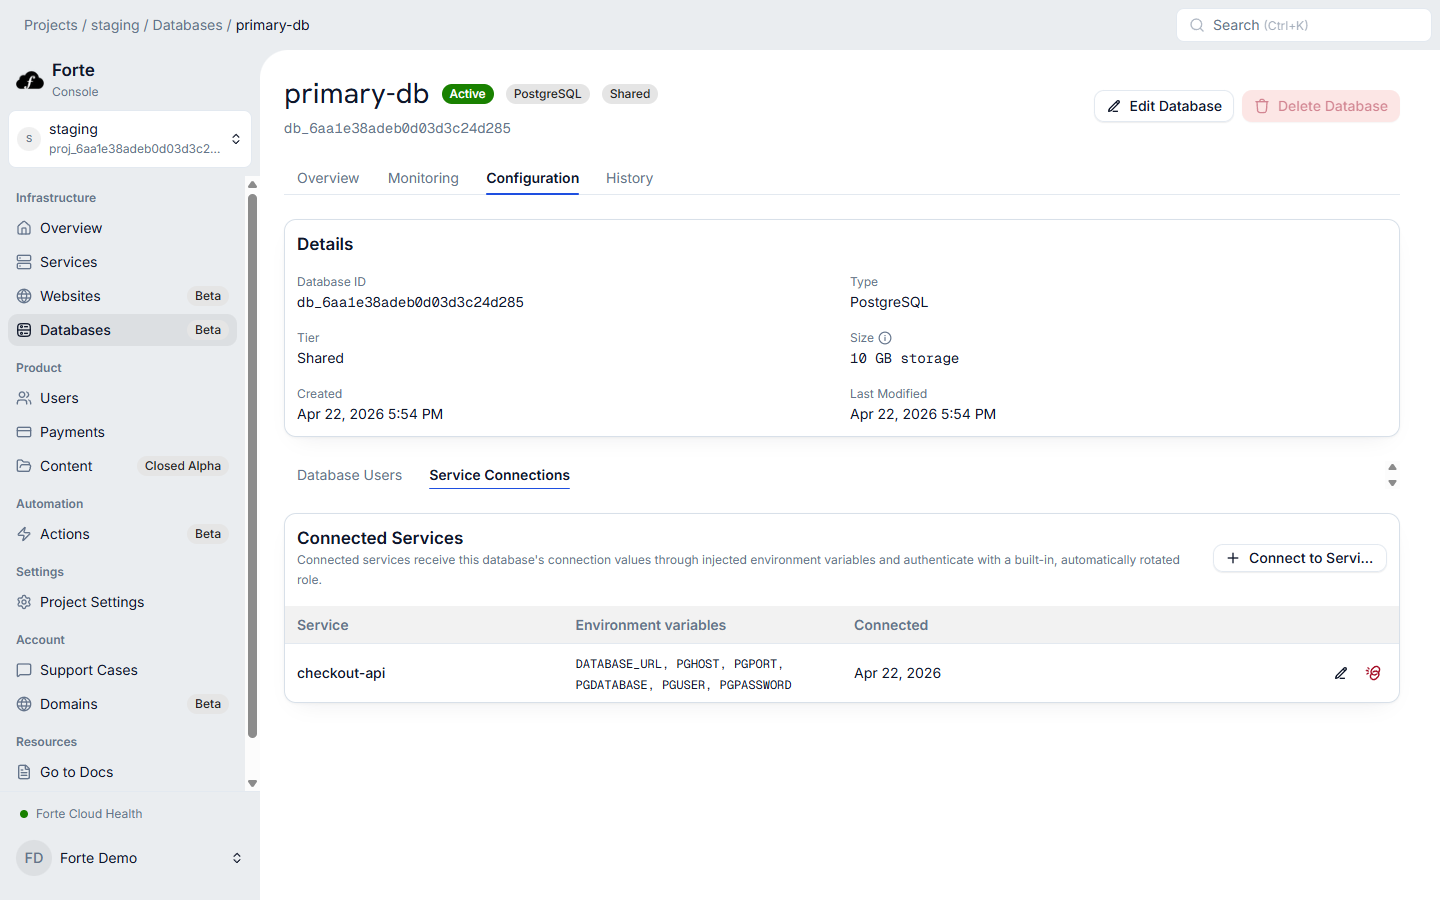
Forte managed databases are in Open Beta. A database belongs to a Project, and connected Services receive managed credentials through the environment. The shared PostgreSQL tier uses transaction pooling and has documented storage, user, connection, and query limits, so configure the application's pool accordingly.
For the example application:
- Create a PostgreSQL database in the Project.
- Connect it to the API Service using the connection-string format expected by the driver.
- Apply the schema through the application's normal migration process.
- Create records as two users and verify tenant boundaries.
- Redeploy the Service and confirm the records remain.
Daily backups do not replace a recovery plan. Forte database restores currently require Support, so account for that operating path when evaluating production requirements. See Managed database operations.
Create a sandbox payment
For paid access, have the portal request a payment from its backend. Forte supplies the Stripe-backed payment APIs and delivers configured payment events to your Services. Your handler decides which feature a completed payment unlocks and records that decision against the customer. Hosting the handler and inspecting its requests happen in the same platform as the rest of the portal.
In a Sandbox project, payment calls route to Stripe test mode. Preview the total while a customer edits a cart, then create the Payment once when they choose checkout. A preview has no side effects; creation persists Forte payment state and creates the underlying payment intent.
This interaction uses simulated data. Follow the payments guide and Stripe test methods when exercising a real Sandbox project.
Charge a customer
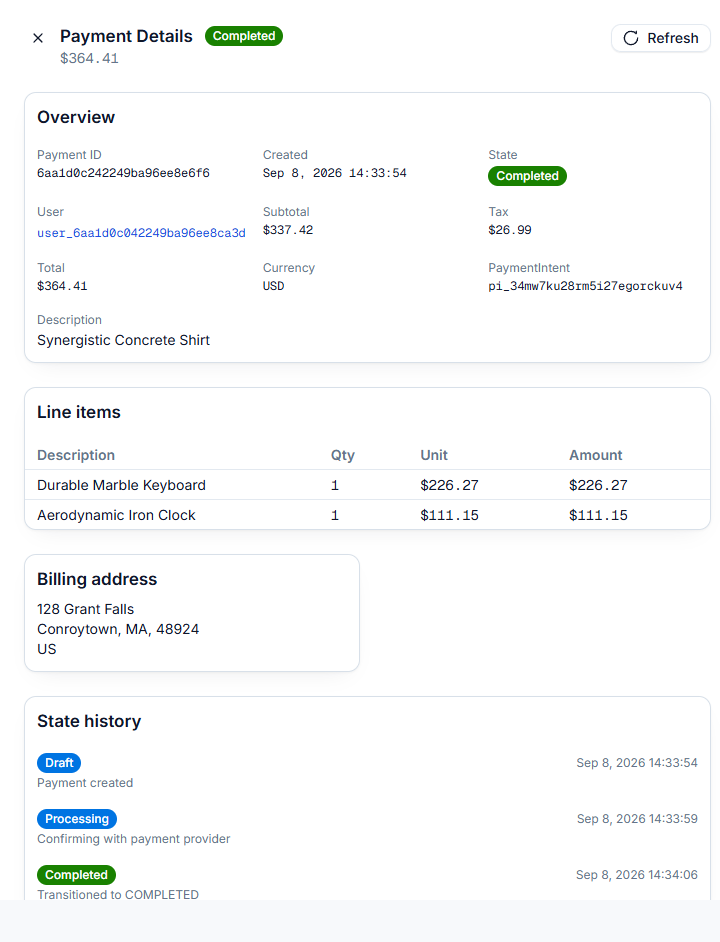
Do not grant application access merely because the browser submitted a payment form. Base the entitlement on the verified payment or subscription state your backend receives. Design event handling for retries and make entitlement changes idempotent.
Live payments require approved compliance registration. Forte's payment fee and merchant responsibilities are documented in Creating payments; review them before choosing the payment model.
Exercise a failure before launch
Create a safe endpoint in the Sandbox Service that logs its request ID and returns a deliberate 500. Open the Requests tab, select the failed request, and confirm that its application output is associated correctly.
| Timestamp | Method | Path | Status | Latency (ms) |
|---|---|---|---|---|
| Feb 12, 03:45:18 | GET | /api/users | 200 | 45.20 |
| Feb 12, 03:45:19 | POST | /api/orders | 201 | 89.50 |
| Feb 12, 03:45:20 | GET | /api/products/123 | 200 | 32.10 |
| Feb 12, 03:45:23 | POST | /api/checkout | 500 | 1250.80 |
| Feb 12, 03:45:25 | GET | /api/cart | 200 | 28.30 |
| Feb 12, 03:45:27 | POST | /api/webhooks/stripe | 422 | 156.20 |
| Feb 12, 03:45:28 | GET | /health | 200 | 12.50 |
| Feb 12, 03:45:30 | GET | /api/orders | 200 | 51.70 |
Request-body capture is on by default in Sandbox and off by default in live projects. Decide whether captured bodies are appropriate before enabling the option for production data.
Then test a failed deployment by changing the health endpoint on a branch. Confirm the failure is visible and understand whether a prior healthy revision is eligible for rollback. Treat database schema recovery as a separate application responsibility.
Review the operating boundary
After completing these steps, you have an API and frontend reachable over HTTPS, a customer who can sign in and save a record, a tested payment path, and a place to investigate a failed request. Subsequent changes use the same deployment workflow. Before moving to live traffic, review capacity, custom domains, recovery, tenant authorization, payment compliance, alerts, and who responds to an incident.
Forte operates the platform resources and their documented lifecycle. Your team owns the application code, business permissions, schema, capacity choice, and customer-facing behavior.
Open the quickstart to deploy the repository, then use the production readiness checklist before serving customers.